When a water main breaks, the clock starts. Every minute of delay is a minute of water loss, property damage, and customer service credits. This post walks through the first 60 minutes of response from a utility crew’s perspective — the sequence that actually minimizes customer-minutes-out-of-water in our experience advising municipal operators.
Minute 0–5: Notification and dispatch
Source of the call: 911, utility hotline, SCADA pressure alarm, or direct observation by field crew.
What the dispatcher needs to capture:
- Exact location (cross street, address, distance from reference landmark)
- Visible indicators (geyser, flooded roadway, low pressure complaints clustered in a neighborhood)
- Hazards (traffic, submerged electrical, collapse risk)
Who gets dispatched immediately:
- Repair crew lead + two technicians
- Backhoe/excavator operator
- Traffic control (if near roadway)
- Service truck with stock repair clamps (sized to the grid’s typical mains)
Decision point at minute 5: is this a surface break (visible water), a sub-surface break (pressure drop, no geyser), or a suspected main break based on pattern of pressure loss? Surface breaks go straight to dispatch; sub-surface requires additional investigation before excavation.
Minute 5–15: Locate and isolate
Locate utilities: call 811 (in the US; different numbers in other countries) for locates on buried utilities — gas, electric, telecom, fiber — before any excavation. This is non-negotiable for worker safety.
Isolate the section: identify the upstream and downstream valves that bracket the break. Crews “walk” the distribution map, checking valve status. For utilities with mapped GIS and valve exercising programs, this is minutes; for utilities with outdated maps, it can be the longest step in the entire repair.
Valve operation rules:
- Turn slowly — closing valves too fast creates pressure surges that can cause secondary breaks
- Count turns and log — if the valve doesn’t close fully, know how many turns it took to get to residual closure so the service team can plan a valve replacement separately
- Open a nearby hydrant downstream to relieve pressure and confirm isolation
Decision point at minute 15: did pressure drop to zero after valve closure? If no, the isolation is incomplete — there’s a parallel feed path you haven’t identified. Don’t start excavation yet.
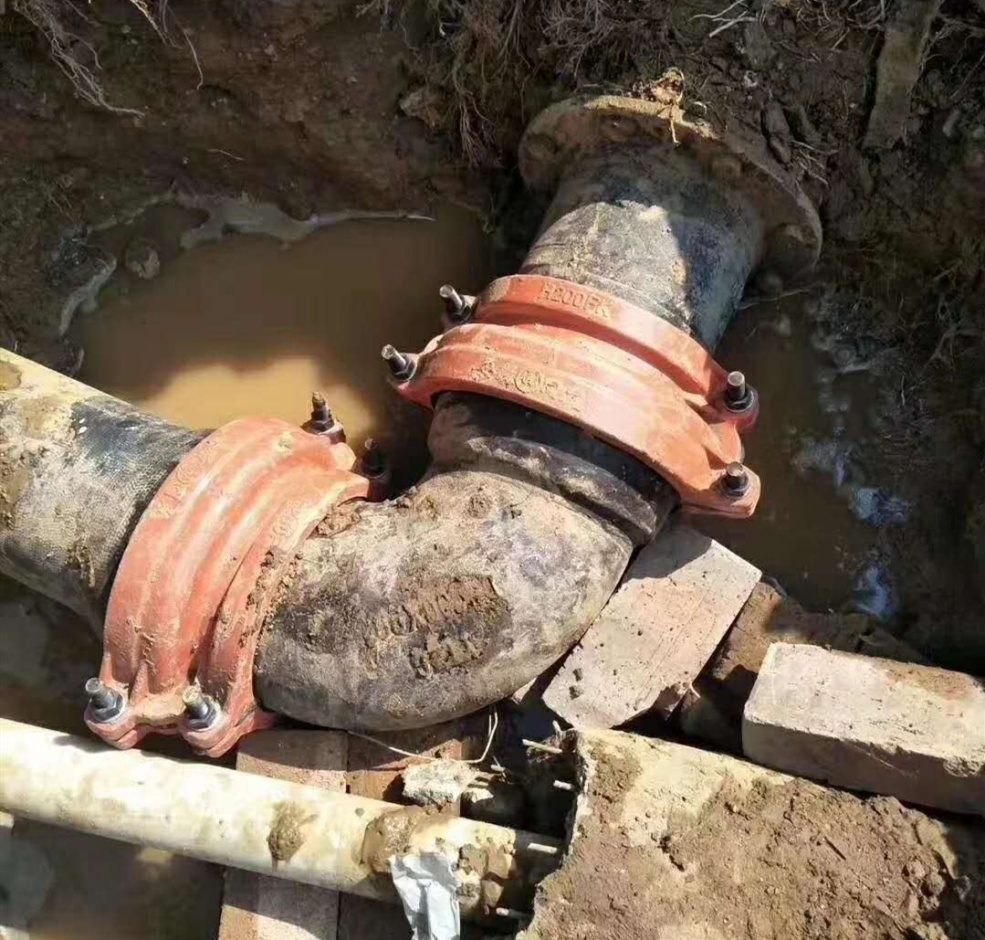
Minute 15–30: Excavate and inspect
Dig safety: shore trenches over 1.2 m (4 ft) per OSHA 1926 Subpart P. A repair that takes 20 minutes isn’t worth a trench collapse fatality.
Expose the pipe: clear soil 300 mm (12 in) on either side of the leak location. For DI mains, the leak is usually visible as a crack, pinhole, or split at a socket joint. For PE mains, look for fusion-line splits. For steel, look for corrosion pitting.
Critical assessment:
- Crack length: if the crack is >300 mm, a standard socket repair clamp or straight-pipe clamp may be too short. Use the next-longer size or plan a pipe section replacement.
- Pipe surface: clean to bare metal (for DI/steel) or bare plastic (for PE/PVC) where the gasket will seat. Surface contamination is the #1 cause of repair failure in the field.
- Diameter (measure, don’t guess): calipers on the outer diameter. DN100 DI pipe from different manufacturers measures 118 mm in some suppliers, 122 mm in others. A 4 mm mismatch means the clamp won’t seal.
Decision point at minute 30: is this repairable with an in-stock clamp, or does it need a pipe section replacement? Cracks longer than the clamp length, multiple cracks within 1 meter, or structural damage (wall thinning from corrosion) push you to replacement. Don’t try to clamp a pipe that’s failing structurally — you’ll be back in a week.
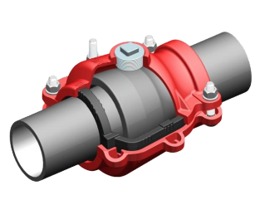
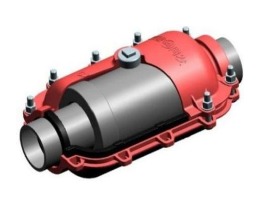
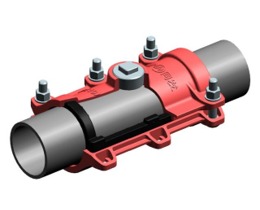
Minute 30–45: Install the clamp
Pre-install checklist:
- Confirm clamp is the right size (measured OD matches clamp spec)
- Confirm gasket is present, intact, and matched to fluid (EPDM for water, never the wrong one)
- Torque wrench on site, calibrated
Installation sequence:
- Center the clamp over the leak
- Hand-tighten all bolts until the gasket just touches the pipe
- Tighten bolts in cross pattern (like torqueing a car wheel) — never sequentially around the clamp
- Tighten in stages: 30% torque, 60% torque, 100% torque, with a cross pattern each round
- Hit the manufacturer’s spec — over-torqueing cracks brittle grey iron pipe and over-compresses PE pipe
Visual check:
- Gasket should be visible but not extruding
- No pipe damage where the clamp bears
- Bolts should show roughly equal stud extension
Decision point at minute 45: ready to pressurize. Slow-open the upstream valve to 20% to re-pressurize gradually. Watch for leaks.
Minute 45–60: Pressure-up and restore
Slow re-pressurization:
- Open upstream valve to 20%, hold for 60 seconds, inspect clamp for leaks
- If dry: open to 50%, hold 60 seconds, inspect again
- If dry: open to 100%, hold 60 seconds, final inspection
Why slow: rapid re-pressurization creates water hammer that can dislodge a marginally-installed clamp or damage adjacent fittings. The 3-stage ramp takes 3 minutes and eliminates this risk.
If there’s a leak:
- Don’t re-torque under pressure — close the valve, depressurize, investigate
- Re-torqueing a leaking clamp under pressure rarely fixes it and can mask a dangerous condition
Notification:
- Call dispatch to update status
- If customers were without service, coordinate communications (website, social, robocalls)
- Log the repair (location, time, cause, clamp type, crew, cost)
Return to service at minute 60: if all went smoothly, you’re pressurized and flowing. Typical customer-minutes-out-of-water for a well-executed single-point repair is 45–90 minutes, depending on valve proximity and excavation depth.
Post-repair cleanup
This is not part of the 60-minute clock, but it still matters:
- Flush the line — even a short de-pressurization lets sediment and foreign material into the distribution system. Open downstream hydrants until water runs clear.
- Chlorinate if required — depending on duration of outage and local code, you may need to add chlorine and confirm residual before restoring service. Check your state/province regulations.
- Backfill and compact — proper trench restoration prevents settlement that triggers the next break.
- Document — photograph the installed clamp, log the repair in your maintenance system, and note any anomalies (unusual wall thinning, soil conditions, nearby utilities).
What makes crews faster
Utilities with the shortest average response times share five things:
- Accurate, current GIS maps — especially valve locations and status. Invest in valve exercising programs.
- Stocked service trucks — crews carry the most common clamp sizes on-truck. Driving back to the yard for a DN200 clamp costs 30 minutes.
- Pre-trained crews — drill the repair sequence quarterly. The motor pattern matters when it’s 2 AM and raining.
- Hydrant isolation practice — know which hydrants are on which zones. Critical for pressure management during re-pressurization.
- Good supplier relationships — when you need an odd-size clamp overnight, it matters whether your supplier ships from nearby stock or a 6-week-lead-time factory.
Stock the right clamps
The single highest-leverage move for a water utility is to pre-stock repair clamps sized to the distribution grid’s most common pipe sizes. Typical North American urban grid has 60–70% of mains in the DN100–DN300 range; stock 2–3 clamps at each of those sizes, plus 1 each of the less common sizes (DN50, DN400, DN600).
PipeKnot ships repair clamps in full DN80 to DN1600 range, with standard 15-working-day lead times from Shanghai port. For utilities with recurring demand, we offer blanket contracts — you commit to an annual volume, we hold dedicated stock to ship within 3 business days.
Contact us with your distribution grid’s size distribution and we’ll quote a pre-positioned inventory package.
Further reading
- How to choose the right pipe repair clamp
- DI vs Steel vs PE: how material changes your clamp choice
- Emergency repair clamp stockpile: inventory strategy
Sources
- EFCN — Create a Water Main Break/Repair Guidance Manual — AWWA-aligned guidance
- Pittsburgh Water — How Emergency Water Main Repairs Work — utility-side perspective
- OSHA 1926 Subpart P — Excavations — trench safety requirements